Step-by-Step Guide to Installing Solar Panels and Inverters
Step-by-Step Guide to Installing Solar Panels and Inverters
Introduction
As the world shifts toward sustainable energy solutions, installing solar panels has become an appealing option for homeowners and businesses alike. This renewable energy source offers both environmental benefits and potential financial savings on energy bills. Whether you’re considering this for your home or workspace, understanding the installation process can empower you to make informed decisions.
Choosing the Right Solar Panels
The first step in your solar journey is selecting the right solar panels. There are several types available, including monocrystalline, polycrystalline, and thin-film panels, each with its own advantages. Monocrystalline panels are known for their efficiency and compact design, making them a popular choice for limited rooftop space. In contrast, polycrystalline panels are more budget-friendly but slightly less efficient. Thin-film panels, while flexible and lightweight, require more space for installation. Assess your energy needs, budget, and roof characteristics before making a selection.
Preparing for Installation
Before diving into installation, it’s crucial to assess your property. Check your roof’s condition and angle, as these factors can significantly affect solar panel performance. Additionally, ensure that your roof is free from shade, as shading can limit the panels' efficiency. It's also wise to consult local regulations and obtain necessary permits, as different areas have distinct zoning laws regarding solar installations. Engaging with professionals for initial assessments can provide valuable insights on optimizing panel placement.
Installing the Solar Panels
Once you’ve chosen your panels and prepared your property, it’s time to install them. Begin by mounting the solar racking system securely onto your roof. This frame will hold the solar panels in place and create appropriate spacing for ventilation. Follow the manufacturer’s guidelines closely to ensure proper installation, as incorrect mounting can lead to performance issues down the line. On sunny days, light assembly work is much more manageable, so timing your project well can improve efficiency.

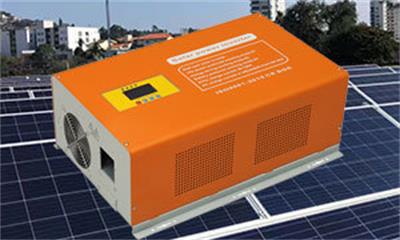
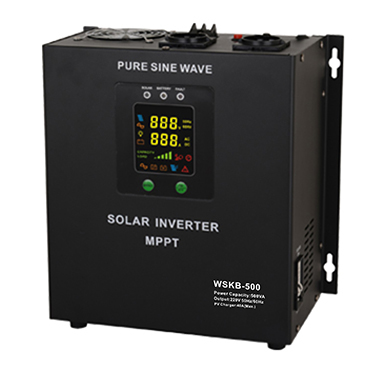
Connecting the Inverter
After securing the solar panels, the next vital step is installing the inverter. The inverter converts the direct current (DC) electricity generated by your panels into alternating current (AC) electricity, which is what your home appliances use. Depending on your setup, you may choose between a string inverter or a micro-inverter. String inverters are typically used in larger systems, while micro-inverters are ideal for setups with shading issues or multiple roof orientations. Make sure to follow safety protocols when connecting the inverter and consult professionals if you’re unsure.
Final Steps and System Testing
Once the panels and inverters are installed, it’s time for the final touches. Ensure all electrical connections are secure and inspect for any potential hazards. Following this, you should conduct a thorough system test to assess its performance. Most solar systems come equipped with monitoring tools to track energy production and consumption, allowing you to verify that everything is functioning correctly. Regular maintenance checks will also help keep your system operating at peak efficiency in the long run.

Conclusion
Installing solar panels and inverters can seem daunting, but by breaking it down into manageable steps, you can navigate the process smoothly. Not only will you contribute to a greener environment, but you will also set your property on a path toward energy independence. With careful planning and execution, you’ll be well on your way to harnessing the power of the sun!