How to Test a New Lithium Iron Phosphate (LiFePO4) Battery: Complete Detailed Step By Step Guide
Lithium iron phosphate (LiFePO4 Battery) batteries have received much attention due to their safety and excellent cycling performance. When you receive a new lithium iron phosphate (LiFePO4) battery, it is important to test the system in order to ensure its performance and reliability. This article will complete the detailed process of lithium iron phosphate battery testing with you to help you prepare the appropriate tools and get ready for work.
First of all, we should make clear what the purpose of the test is, which aspect of the test we mainly carry out, the purpose of the new lithium iron phosphate battery test is mainly:
1. Performance evaluation: Understand the battery capacity, internal resistance, cycle life, etc.
2. Safety test: To ensure the safety of the battery under extreme conditions.
3. Environmental adaptability: Evaluate the performance of the battery at different temperatures
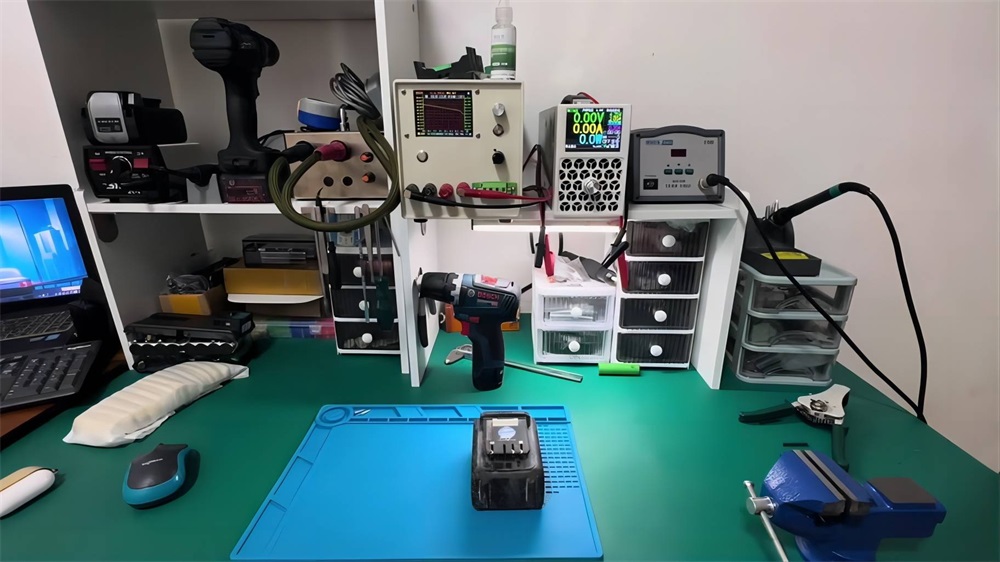
Step 1: Equipment Preparation
Test equipment
1. Battery tester: Select a battery tester with charge and discharge function to ensure that it meets the specifications of lithium iron phosphate batteries.
Check the calibration status of the instrument to ensure accurate measurement.
2. Multimeter: Used to measure voltage and current. Select a multimeter that is fully functional and in good condition.
3. Thermometer: digital thermometer or infrared thermometer, used to monitor the temperature of the battery to ensure that it is within a safe range.
4. Computer or data logger: used to record and analyze test data to ensure that it can be connected with test instruments.
Safety equipment
1. Protective equipment: Wear safety gloves, goggles, and protective clothing to avoid contact with battery chemicals.
2. Fire extinguishers: Prepare fire extinguishers suitable for battery fires (such as carbon dioxide fire extinguishers) to ensure adequate emergency preparedness.
Test environment preparation
1. Good ventilation: Choose a well-ventilated environment to avoid gas accumulation.
2. Temperature control: Ensure that the temperature of the test environment is in the appropriate range (usually 25°C is the best).
3. Clean the work surface to ensure that there is no debris to avoid short circuits or accidents. Lay insulation on the work surface to prevent static electricity or current leakage.
Battery preparation
1. Battery check: Check the battery shell for physical damage such as cracks, bulges, or leaks.
2. Battery label: Confirm the label information of the battery, including the model, rated voltage, and capacity.
3. Check the initial charging state of the battery to ensure that the test is carried out in a fully charged state.
Step 2: Record the basic parameters of the battery and check the voltage
Confirm battery information, including model and manufacturer: Record the battery model and manufacturer. The rated voltage and capacity and production date are used to record the production date of the battery to assess its degree of old and new. The erasure voltage is a key step:
1. Set a multimeter: Adjust the multimeter to the DC voltage setting. First test the multimeter on a known power supply to ensure that the multimeter is working properly.
2. Disconnect the battery: Make sure the LiFePO4 battery is not connected to any circuit to avoid interference during the test.
3. Connect the multimeter: Connect the red lead to the positive terminal and the black lead to the negative terminal of the LiFePO4 battery.
4. Reading voltage: Check the voltage reading on the multimeter. For a fully charged LiFePO4 battery, the voltage should be within the range specified by the manufacturer, usually about 3.2V to 3.6V per cell. If the voltage is low, charge the battery before use.
Step 3: Capacity Test
Fully charge the battery pack and note the time, use the device until the battery is depleted, and note the time again
(Amperage x time (hours) = amperage hours, which is the formula used for this calculation)
So, if you power at 20 amps for 5 hours and 2 amps for 3 hours, then you will be able to get 100 amps hours (Ah), so you will get 7 amps hours (Ah).
The results of such tests can be greatly affected by many factors, such as temperature, wire diameter, wire length, etc., all of which can affect the actual results. If you want to know if you are getting value for money and if there are any serious deviations, you should investigate further. Actual testing is a good way to know if you're close to the price you paid. They are usually a warm and fuzzy feeling that everything is going according to plan.
You can also use the battery capacity tester directly
· Connect the battery capacity tester: Follow the instructions to properly connect the tester to your LiFePO4 battery. Make sure the connection is strong to prevent any outages during testing.
· Set the discharge rate: Select the appropriate discharge rate according to the battery specification, usually between 0.2C and 1C. Discharging too quickly can cause inaccurate readings and may damage the battery.
· Start-up test: Start the discharge process and monitor the energy output and duration. It can be helpful to use a timer to accurately record test run times.
· Calculate capacity: After completing the test, using the recorded data, determine the actual capacity of the LiFePO4 battery by the following formula: Capacity (Ah) = discharge current (A) x time (h) This gives you a clear idea of how the LiFePO4 battery will perform in actual use.
Step 4: Security testing and checking for defects
Extreme condition test
Overcharge test: charge beyond the recommended voltage and observe the battery reaction.
Overdischarge test: discharge below the safe voltage and record the performance.
Short circuit test: Simulate a short circuit and observe the safety of the battery.
After checking the voltage and capacity, conduct a thorough inspection of the LiFePO4 battery to check for physical defects.
Visual inspection: Carefully inspect the battery for cracks, swelling, or other visible damage that could compromise its integrity and safety.
Check the terminals: Check around the terminals for signs of leakage, corrosion, or loose connections, which could indicate a potential problem.
Document findings: If any defects are found, document them and contact the manufacturer immediately to address potential safety issues. Keeping detailed records helps with warranty claims or future troubleshooting.
You also need to conduct a summary analysis and evaluation of the data, according to your own needs, you can further carry out cyclic testing, high temperature and low-temperature testing, etc., and write a detailed report, so as to put forward improvement suggestions and application suggestions in the subsequent use process. Continuous testing is also essential, and you need to regularly monitor the condition of the battery to ensure its long-term safety and reliability.
Conclusion
Through the above steps, you can comprehensively evaluate the performance and safety of lithium iron phosphate batteries, providing an important basis for its application. Make sure your new lithium iron phosphate(LiFePO4 Battery) battery is safe and efficient